Installing plastic windows is a great way to improve the energy efficiency and appearance of your home. While professional installation is recommended for those who are not experienced with home improvement projects, many DIY enthusiasts can successfully install plastic windows themselves with the right tools and instructions. In this article, we’ll provide a step-by-step guide on how to install plastic windows, along with some tips and tricks to ensure a successful installation.
Step 1: Measure and Order Your Windows
The first step in installing plastic windows is to measure your existing window openings and order your new windows. It’s important to measure accurately to ensure that your new windows fit properly. Measure the height and width of the window opening from inside the house, and order windows that are slightly smaller than these measurements to allow for proper installation.
Step 2: Remove the Old Windows
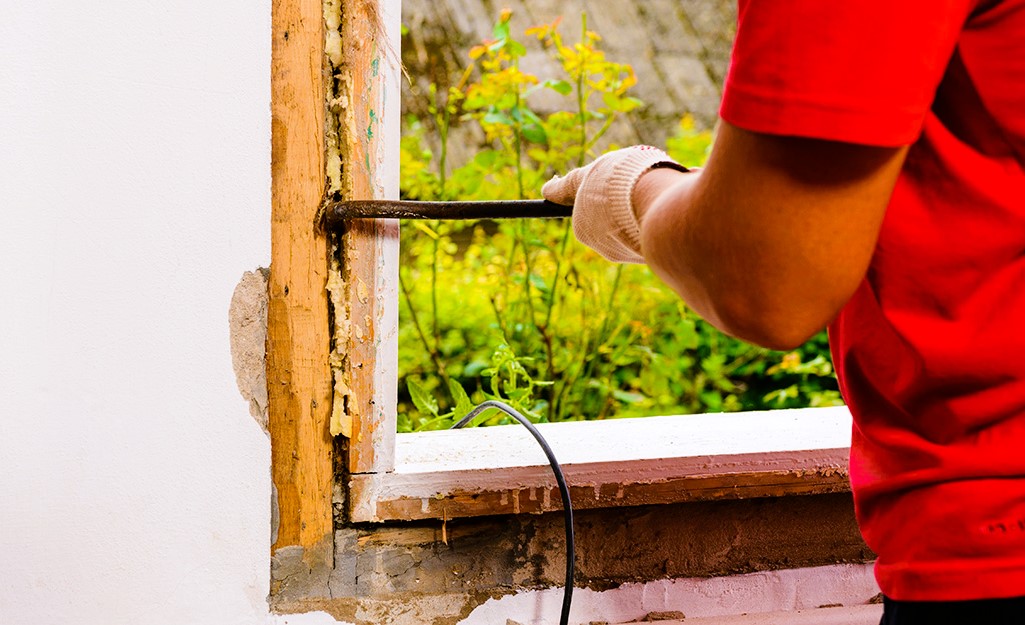
Once your new windows have arrived, it’s time to remove the old windows. This can be a messy and time-consuming process, so be prepared to set aside a few hours for this step. Remove any trim or molding around the window, and carefully pry the old window out of the opening. If the old window is stuck, use a reciprocating saw to cut through any nails or screws that may be holding it in place.

Step 3: Prepare the Opening
After the old window has been removed, clean out the opening and prepare it for the new window. Check for any damage or rot that may need to be repaired before installing the new window. If the opening is not level, use shims to level it out.
Step 4: Install the Window
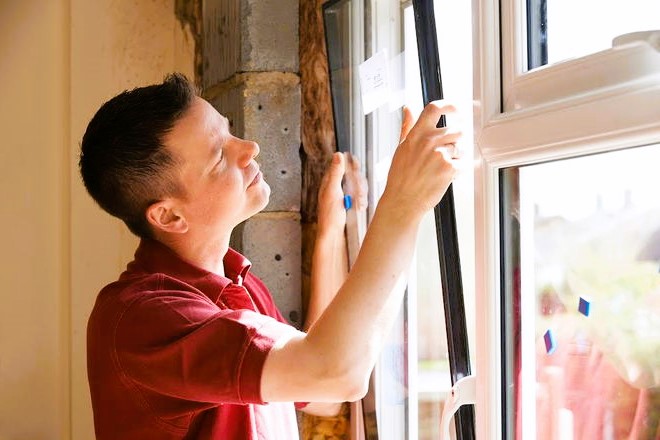
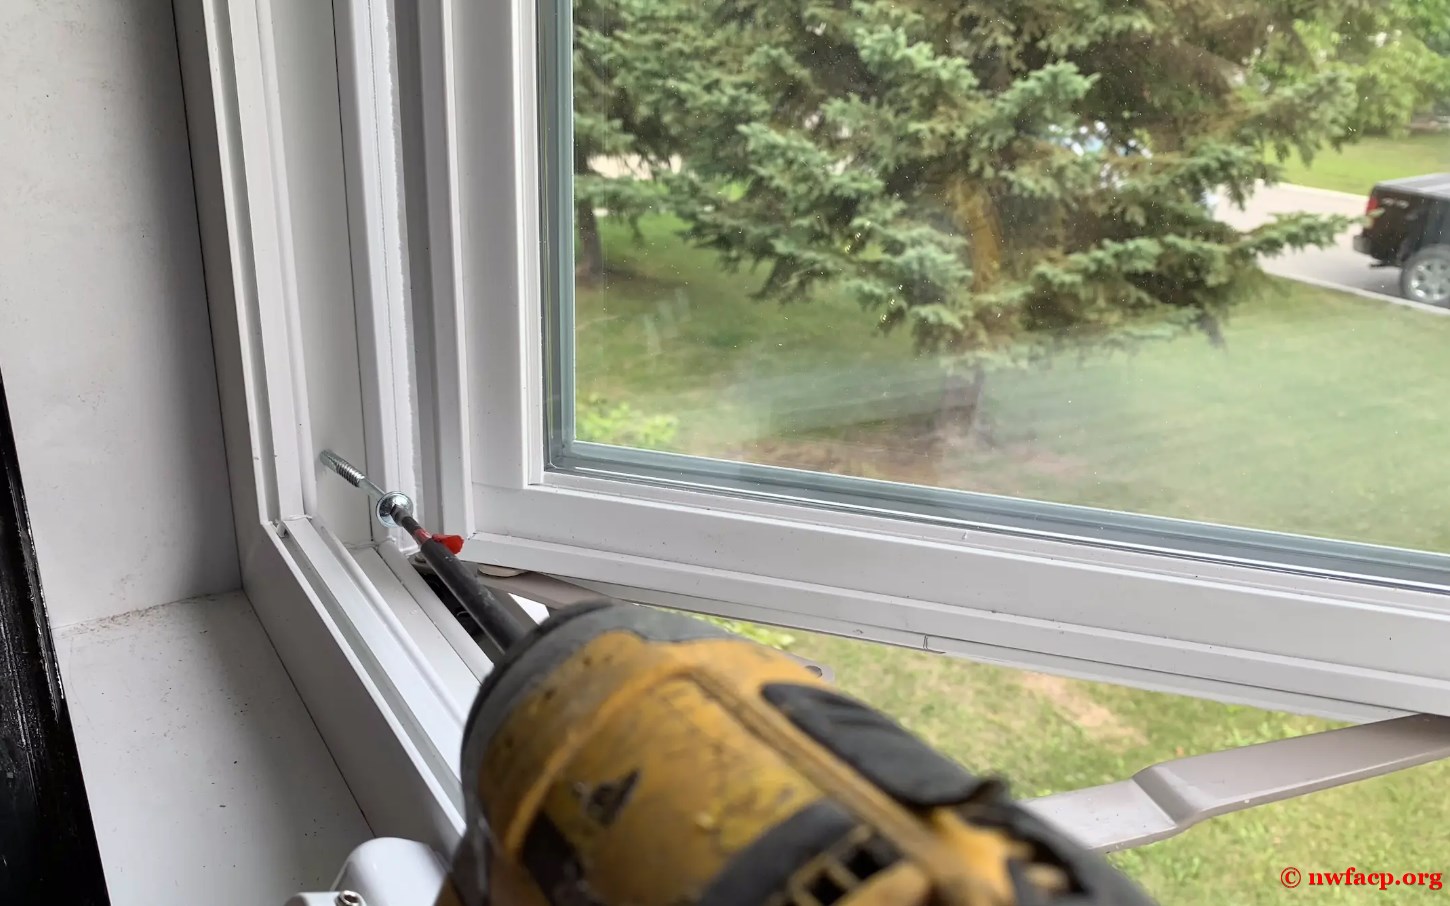
Carefully place the new window into the opening, ensuring that it is level and square. Use shims to hold the window in place, and secure it to the opening with screws. Make sure to follow the manufacturer’s instructions for securing the window to the opening.
Step 5: Insulate and Seal the Window
Once the window is securely in place, insulate around the frame to prevent air leaks. Use expanding foam insulation around the edges of the window, and then use caulk to seal any gaps or cracks. This will ensure that your new window is energy efficient and keeps out drafts.
Step 6: Finish the Installation
Finally, add any finishing touches to the installation, such as trim or molding around the window. This will give your new window a professional-looking finish and help to protect the edges of the window from damage.
Tips and Tricks for a Successful Installation
- Read the manufacturer’s instructions carefully before beginning the installation.
- Work with a partner to install the window, as it can be heavy and difficult to maneuver on your own.
- Use a level to ensure that the window is installed properly and level.
- Use high-quality materials, such as screws and insulation, to ensure that your window installation is durable and long-lasting.
- Take your time during the installation process, as rushing can lead to mistakes and problems down the line.
In conclusion, installing plastic windows can be a rewarding and cost-effective DIY project for those with the necessary skills and experience. By following these step-by-step instructions and tips, you can install your own windows and enjoy the benefits of improved energy efficiency and a more attractive home. However, if you are unsure about your ability to complete this project on your own, it’s always best to hire a professional for the job.

Professional installers have the necessary tools, experience, and training to ensure that your windows are installed properly and function as they should. They can also provide valuable advice and guidance on choosing the right windows for your home and ensuring that they are installed correctly.
If you do decide to install your own windows, make sure to take all necessary safety precautions and wear protective gear such as gloves and eye protection. Use caution when handling tools and materials, and never attempt to install a window in adverse weather conditions. Like the article? Read also about the correct slopes for windows.
In addition to the benefits of improved energy efficiency and aesthetics, installing plastic windows can also increase the value of your home. When it comes time to sell, potential buyers will appreciate the modern, updated look of your home and the savings that come with energy-efficient windows.
In conclusion, installing plastic windows is a great DIY project for those with the necessary skills and experience. By following these step-by-step instructions and tips, you can successfully install your own windows and enjoy the benefits of improved energy efficiency and a more attractive home. However, if you are unsure about your ability to complete this project on your own, it’s best to hire a professional installer to ensure a safe and successful installation.

